Signup and First Login
Creating your Voki account is a quick and secure process. In just a few minutes, your company will have a complete video service environment ready to use.
Creating your account
Go to the signup page at voki.avanter.com.br/cadastro:

Fill in the form with the following information:
| Field | Description | Required |
|---|---|---|
| Full name | Name of the account holder | Yes |
| Corporate email | Will be used as login credentials | Yes |
| Password | Minimum 8 characters, with letters and numbers | Yes |
| Company name | Name that will be displayed to your clients | Yes |
| Tax ID (CNPJ or CPF) | Account holder's registration document | Yes |
| Desired plan | Initial plan (can be changed later) | Yes |
Email tip
Use a valid corporate email. It will be the primary communication channel between the platform and you, as well as your login credential.
Document validation
During signup, Voki performs automatic document validation to ensure platform security:
- CNPJ (Company Tax ID): Automatic lookup of company data (legal name, registration status, and address) from the Federal Revenue Service
- CPF (Individual Tax ID): Verification of CPF status (requires date of birth for validation)
Automatic validation
If the document is valid and in good standing, the registration proceeds automatically. If there is any irregularity, a clear message will indicate the reason so you can correct it.
What happens after signup
Upon completing the form, the system automatically performs the following steps:
- Creates the isolated environment (tenant) exclusive to your company
- Sets up the default department ("Default") so you can start serving immediately
- Registers your user as Owner — with full access to the management panel
- Generates the invoice in the payment system (for paid plans via Asaas)
- Sends a welcome email with instructions for the next steps
First login
After creating your account, go to voki.avanter.com.br/login:
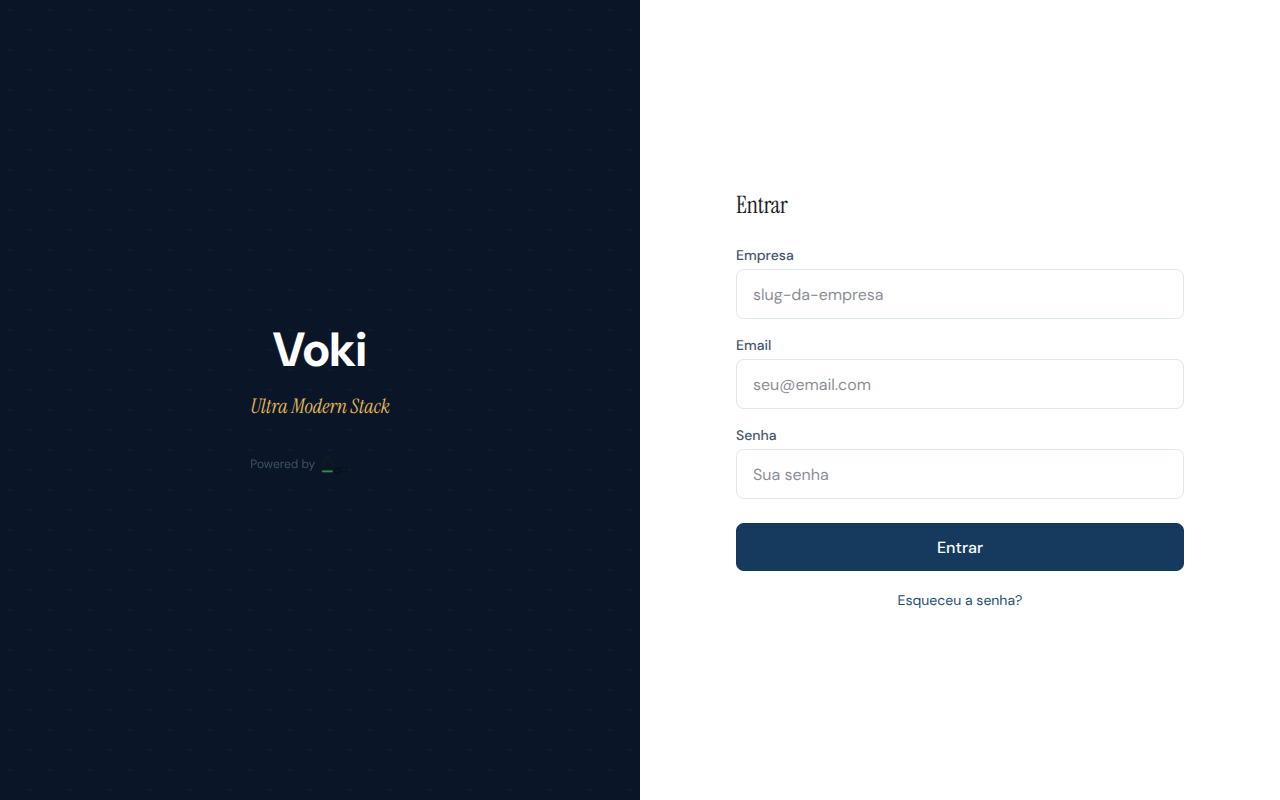
Enter the three fields to access the platform:
| Field | What to enter |
|---|---|
| Company | Your company's identifier (slug), automatically generated during signup |
| The email used during signup | |
| Password | The password set during signup |
Company identifier
The "Company" field is the slug generated from your company name during signup (for example, "Sao Paulo Clinic" becomes sao-paulo-clinic). This identifier was provided in the welcome email.
Automatic redirect
After a successful login, you will be automatically redirected to the appropriate screen based on your profile:
| Profile | Destination | Description |
|---|---|---|
| Owner | Manager Panel | Full access to settings, reports, and management |
| Manager | Manager Panel | Team management, reports, and monitoring |
| Supervisor | Workstation | Service with supervision features |
| Attendant | Workstation | Direct client service |
Initial dashboard
On your first login as an Owner or Manager, the Dashboard presents a complete real-time view of the operation:
| Indicator | What it shows |
|---|---|
| Active calls | Number of calls currently in progress |
| Online attendants | How many team members are connected and available |
| Queue | Clients waiting for service |
| Average wait time | Average time clients wait in the queue |
| WebRTC indicators | Quality of active connections |
From the dashboard, use the sidebar menu to access all management panel features: departments, users, reports, settings, and more.
Getting started
After your first login, we recommend that you:
- Go to Settings to customize your company's branding
- Create your service departments
- Register your attendants and assign them to departments
- Share the service link with a colleague to test a call
Next steps
- Customer Experience — Understand how your clients access the service
- Plans and Limits — Learn about the features available on your plan
- Embeddable Widget — Integrate video service into your website